1. In order to integrate Hired and Workday, login to your Workday account
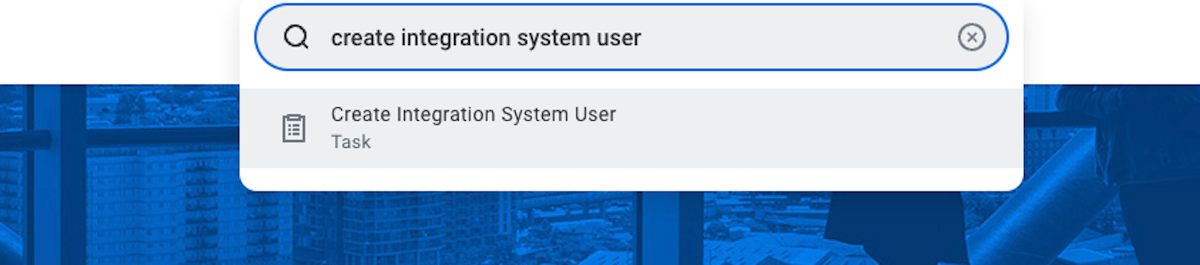
2. You'll now need to create an Integration Systems User (ISU). In the search box type "create integration system user" and click on the link
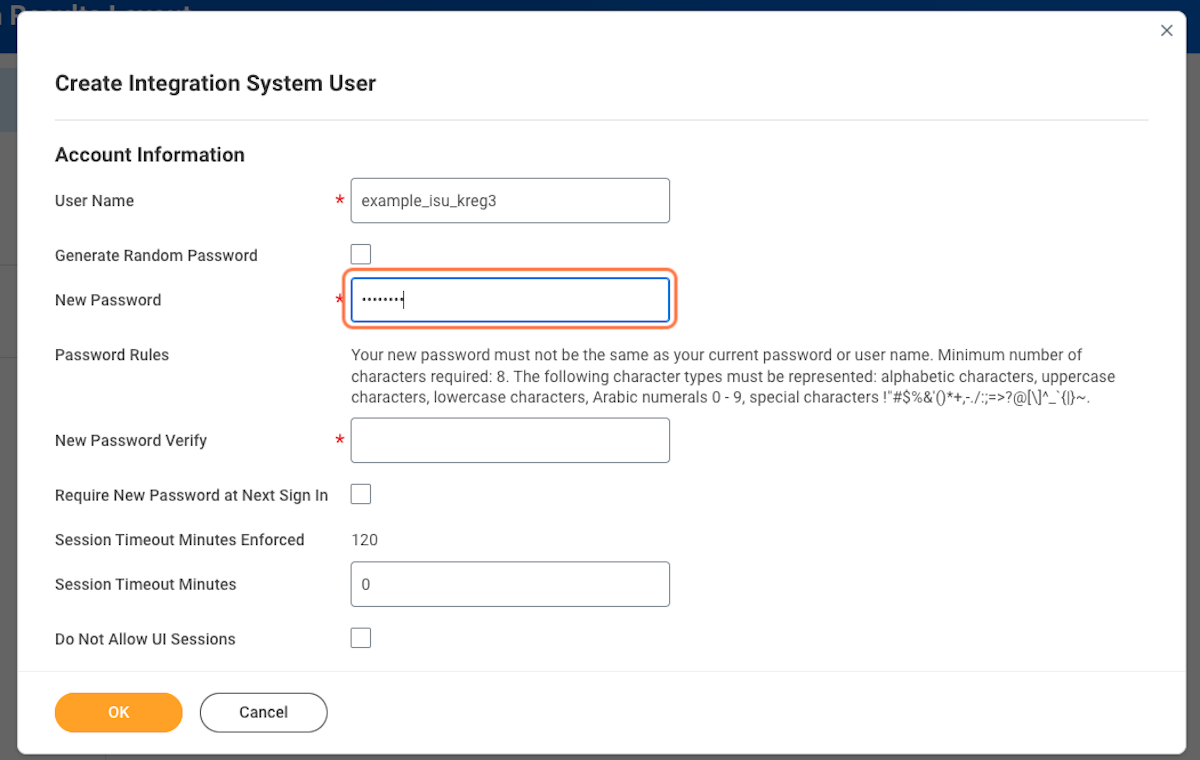
3. Give your integration system user a name and a password, and click OK and Done
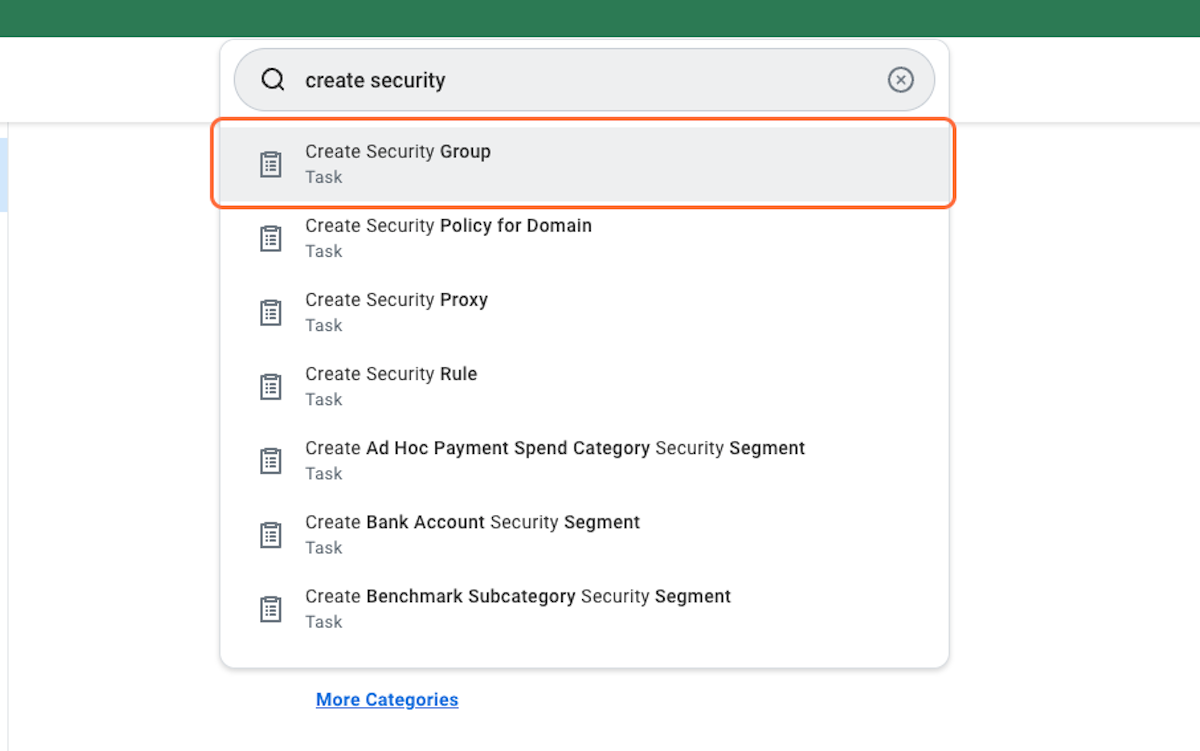
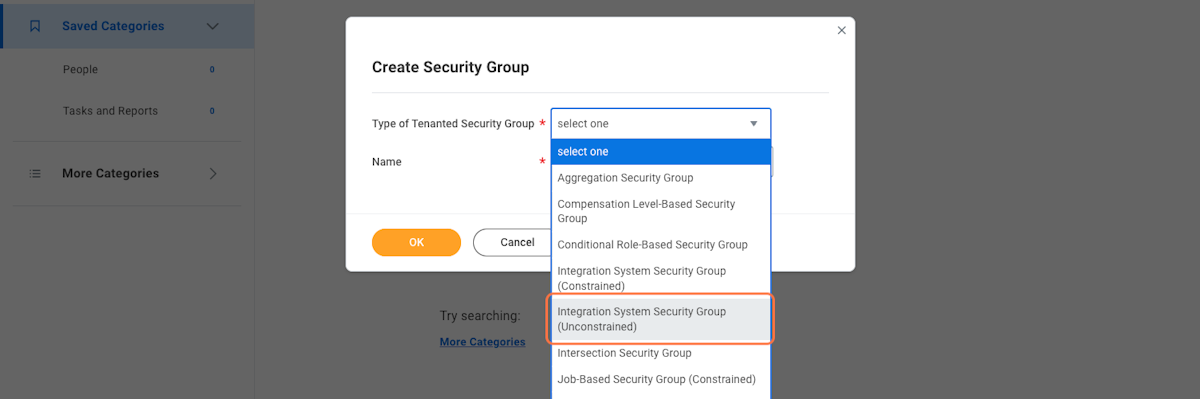
4. Now you'll need to create a security group and tie it to your newly created ISU. In the search box type "create security group" and click on the task
5. Select "Integration System Security Group (Unconstrained)" in the type of tenanted security group box
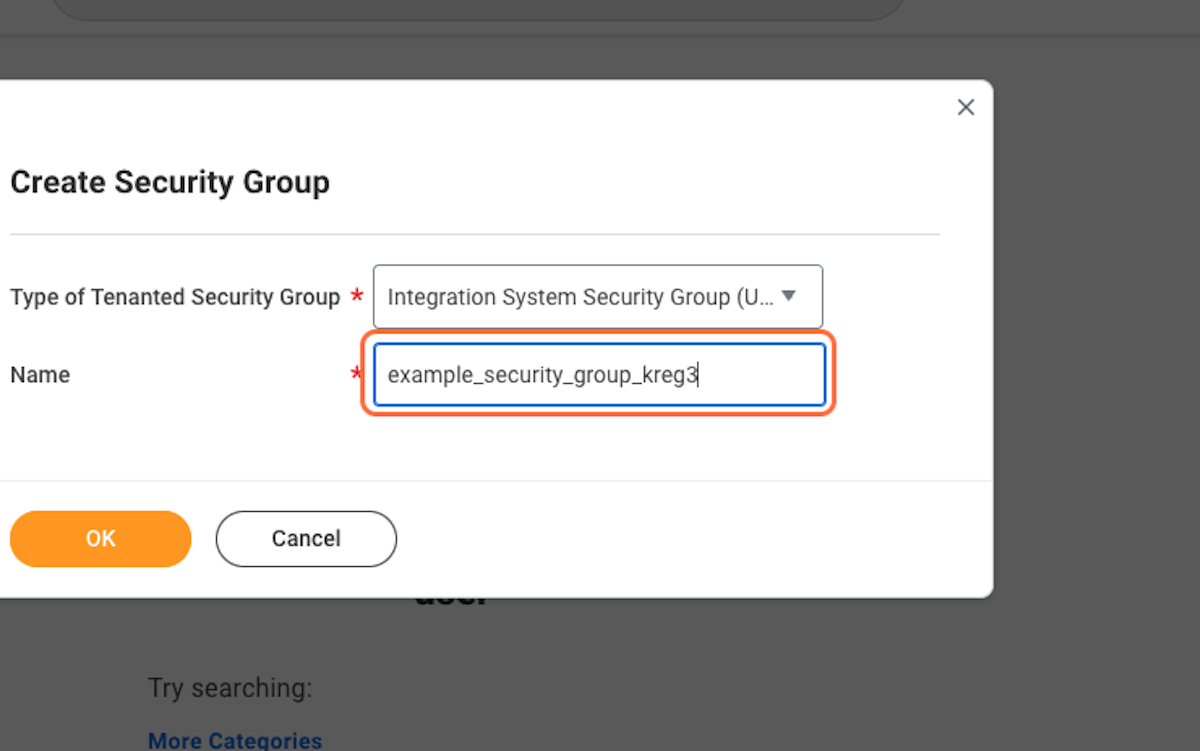
6. Give your security group a name and click ok
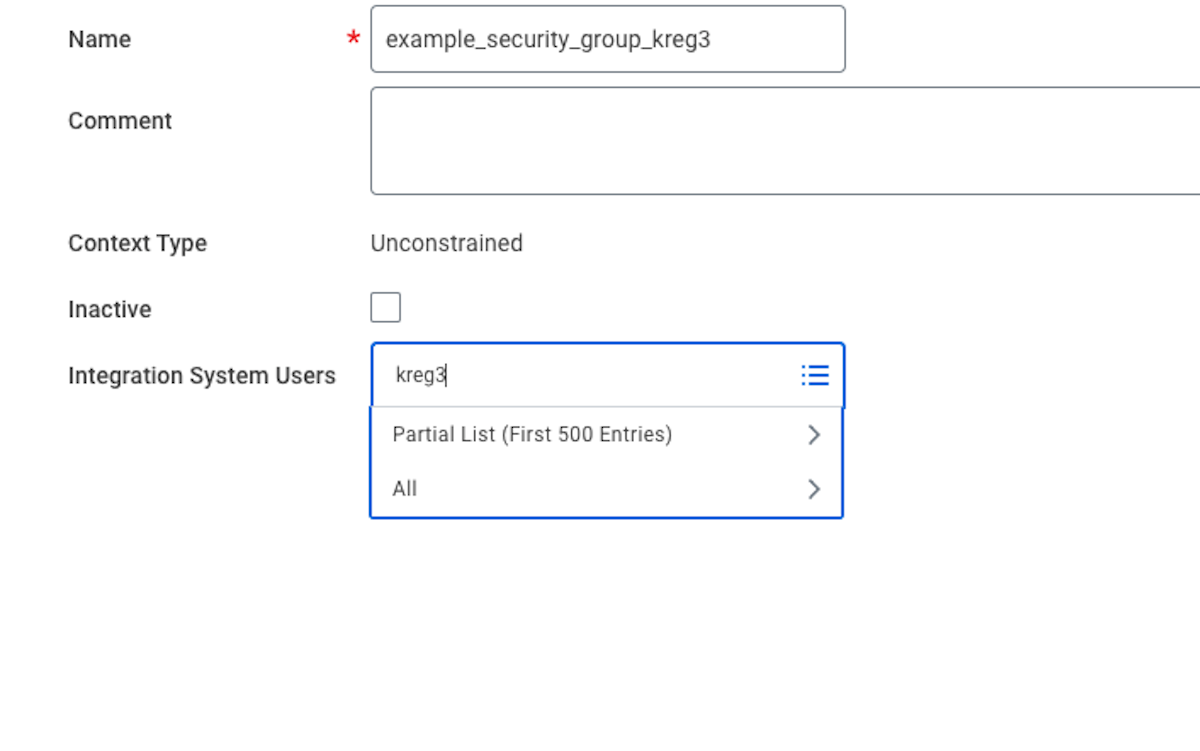
7. On the next page assign your security group to your newly created integration systems user by searching for the ISU in the integration systems users box. Once selected click done.
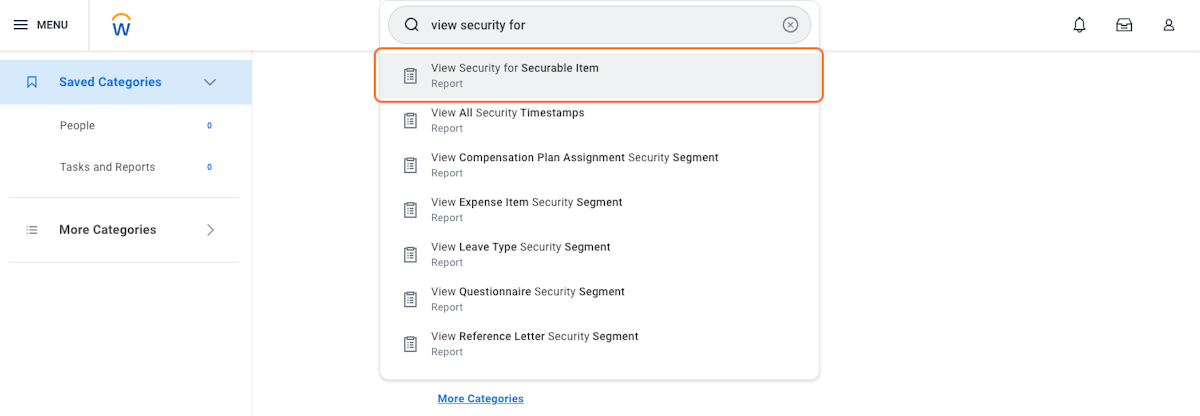
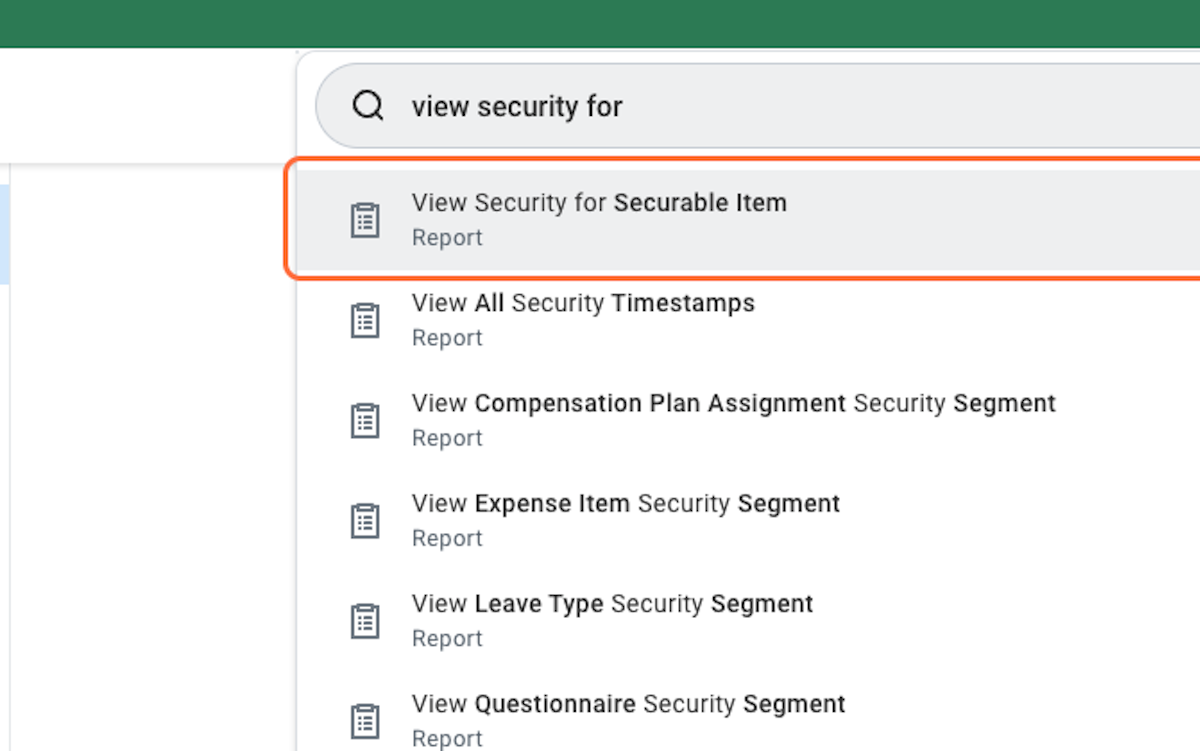
8. Now you'll need to add the proper permissions for your new Security Group. Search for "view security for securable item" and click the link that appears
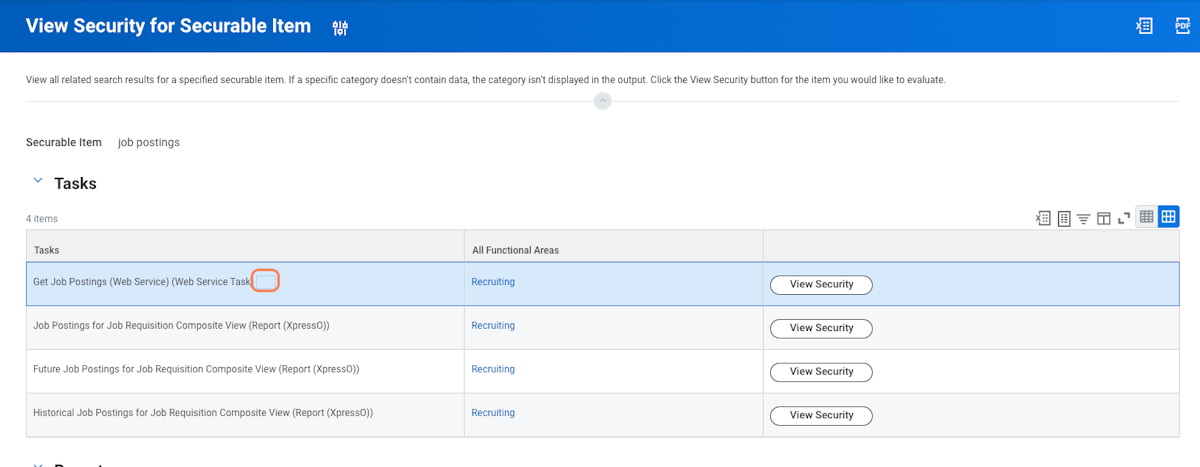
9. Type "job postings" in the securable item box and click ok

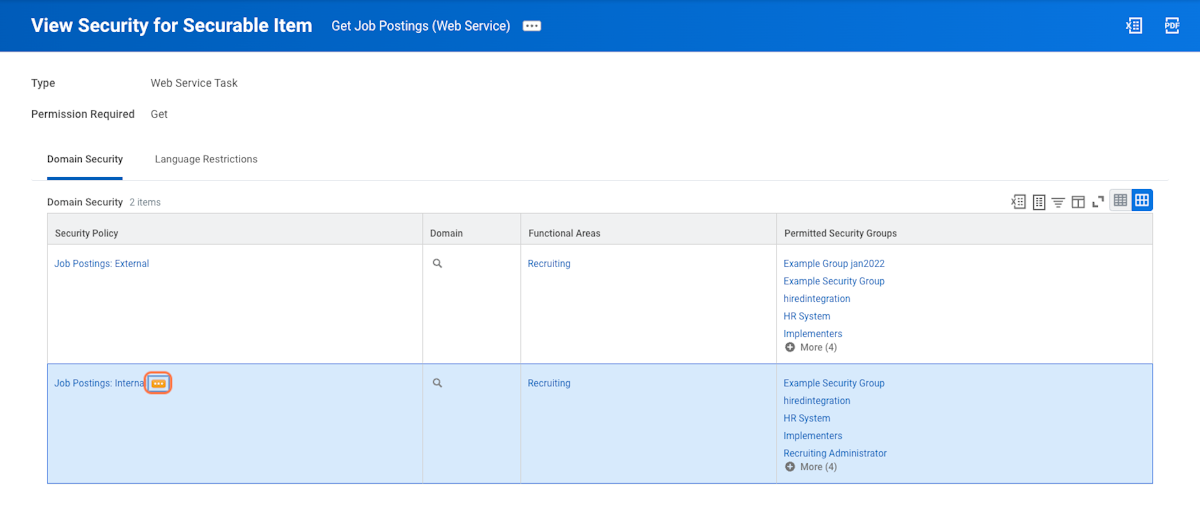
10. Hover over "Get Job Postings (Web service) (Web Service Task)" and click the menu icon
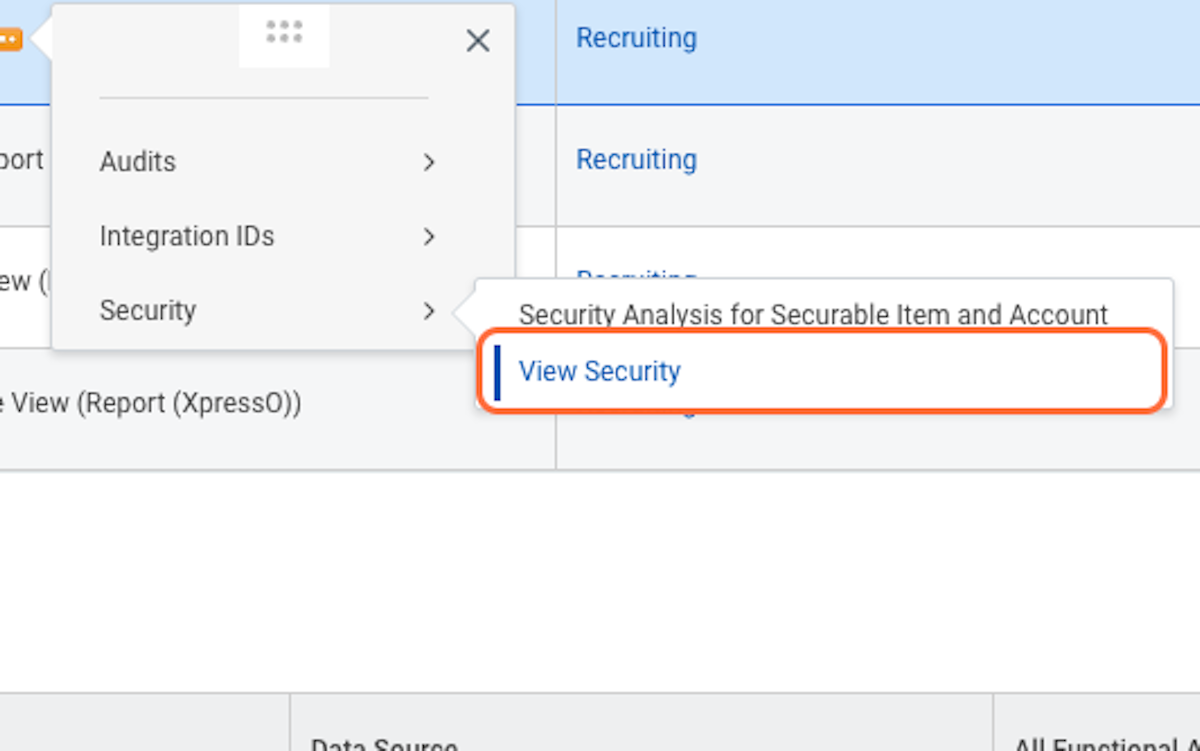
11. Click on Security, then View Security
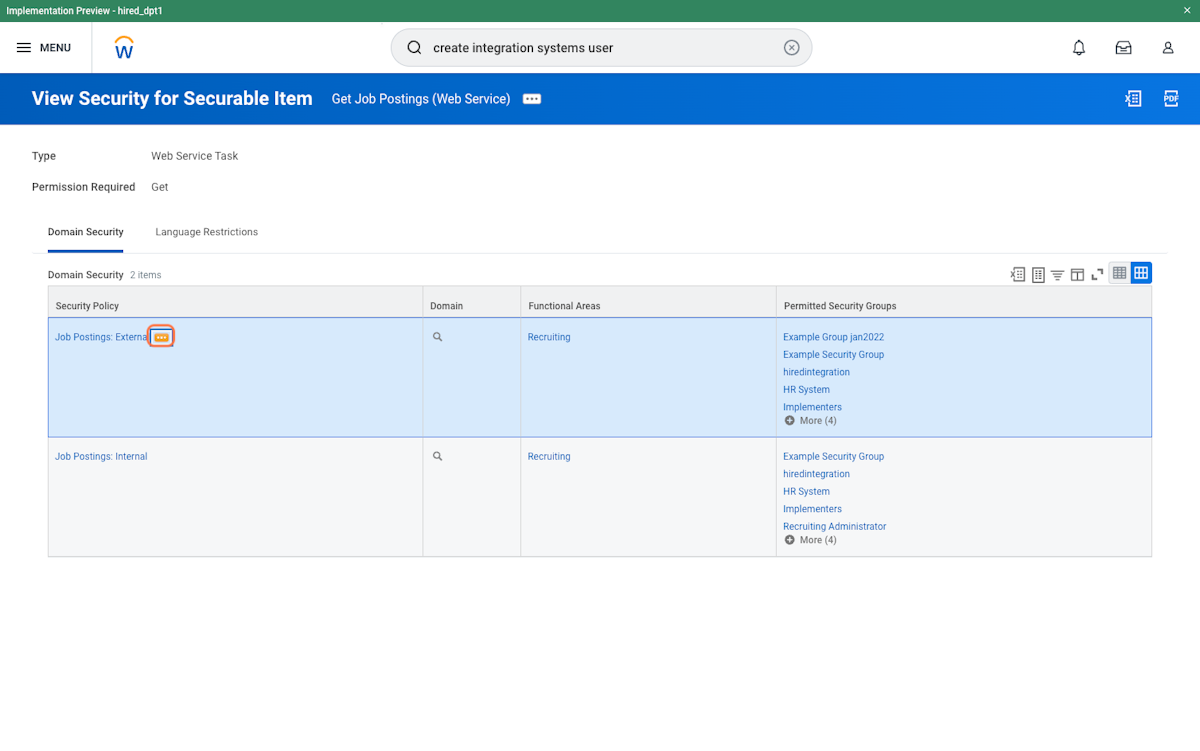
12. Hover over "Job Postings: External" and click the menu icon
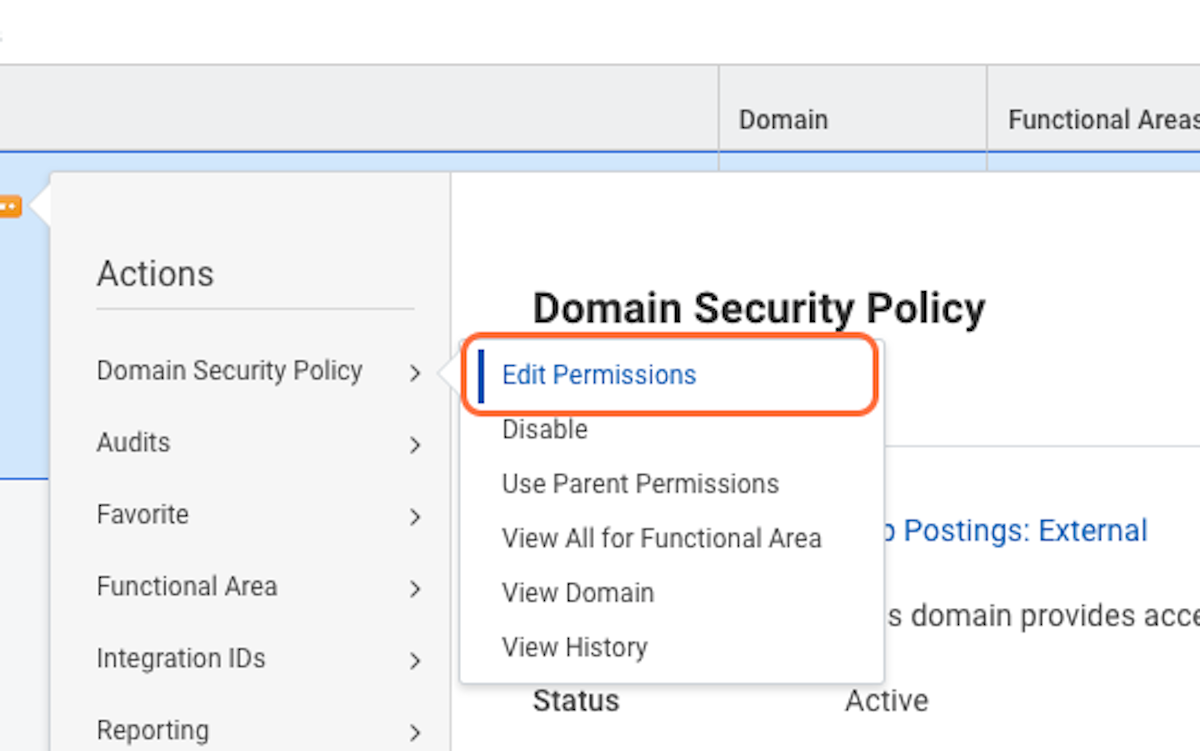
13. Hover over "Domain Security Policy" and click "Edit Permissions"
14. Scroll down to the "Integration Permissions" section and click on the + sign
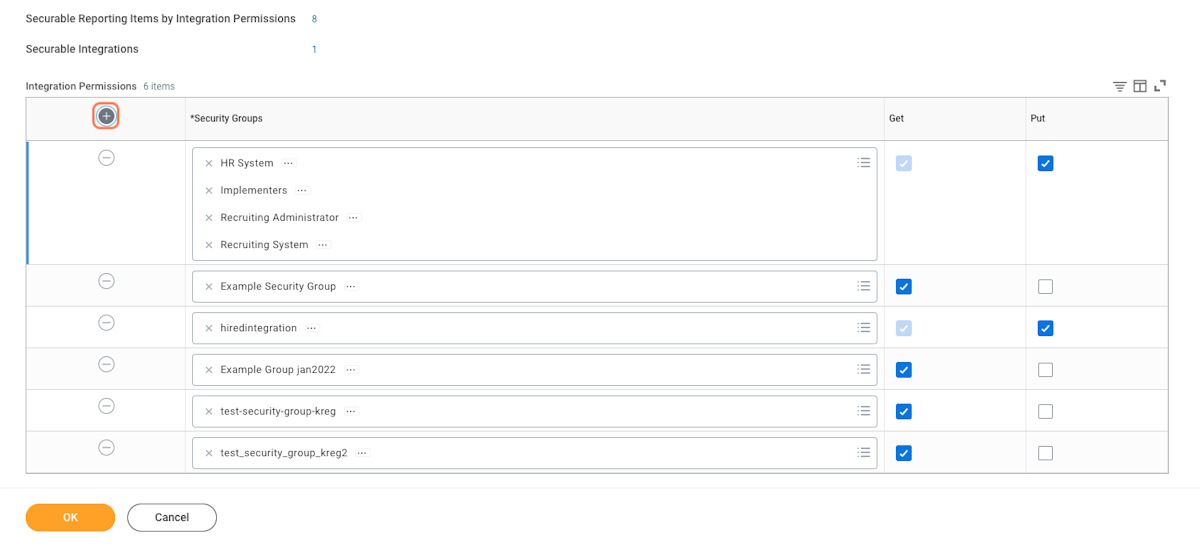
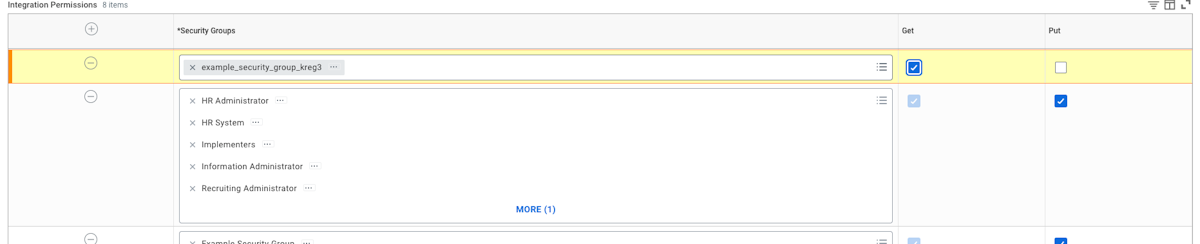
15. Search for your newly created security group and select it

16. Click on the check box for "Get" then click OK, and Done
17. Repeat steps 13-17 for the Job Postings: Internal section
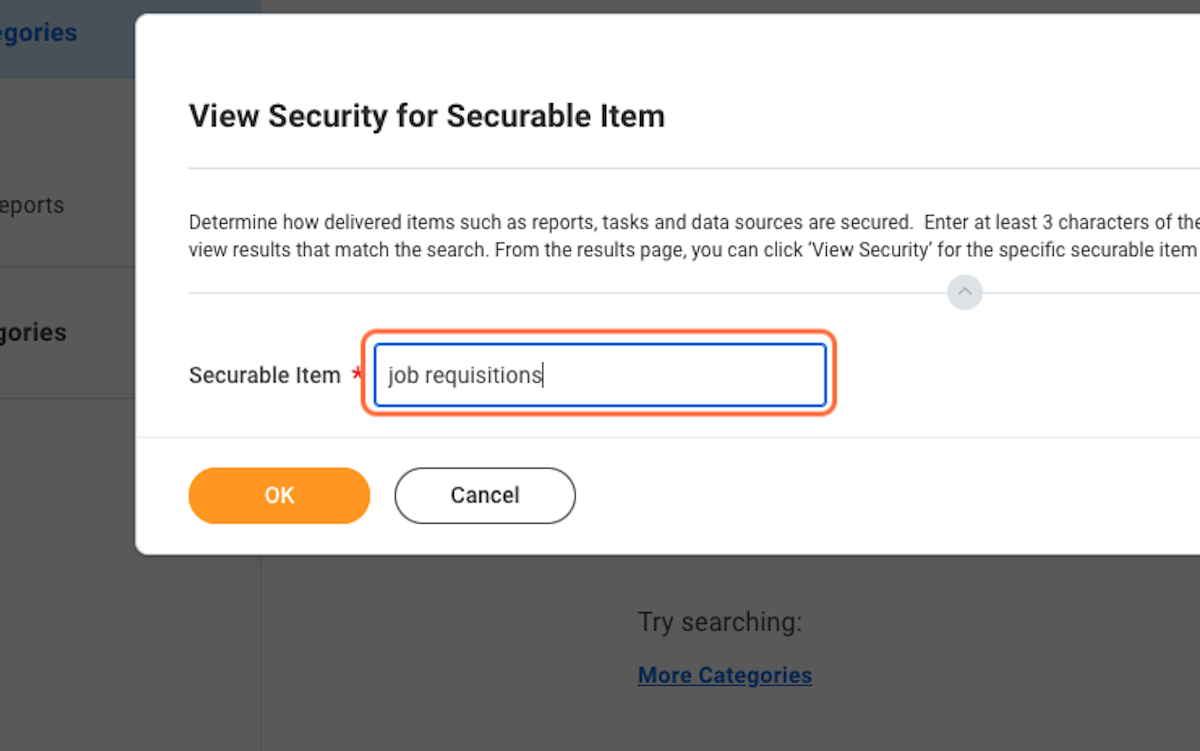
18. Search for "View Security for Securable Item"
19. Type "job requisitions" in the search box
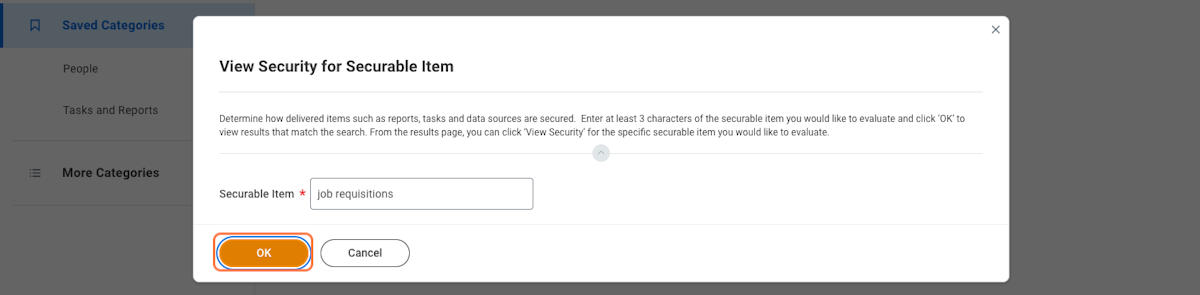
20. Click on OK
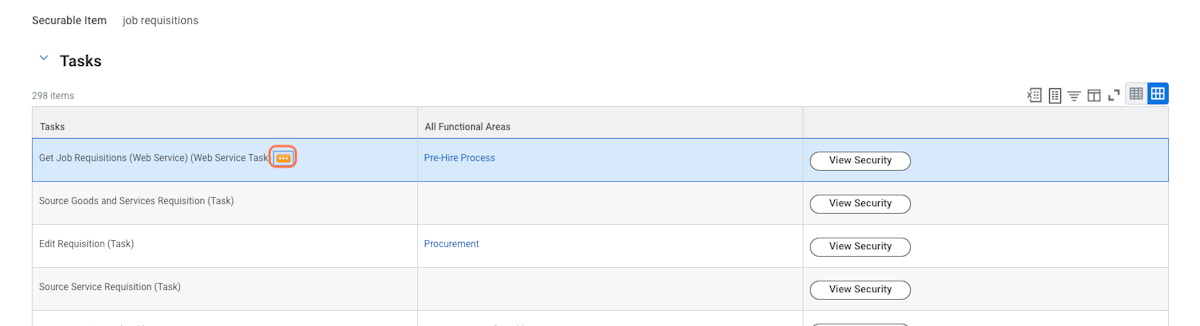
21. Hover over "Get Job Requisitions (Web Service) (Web Service Task)" and click the menu icon
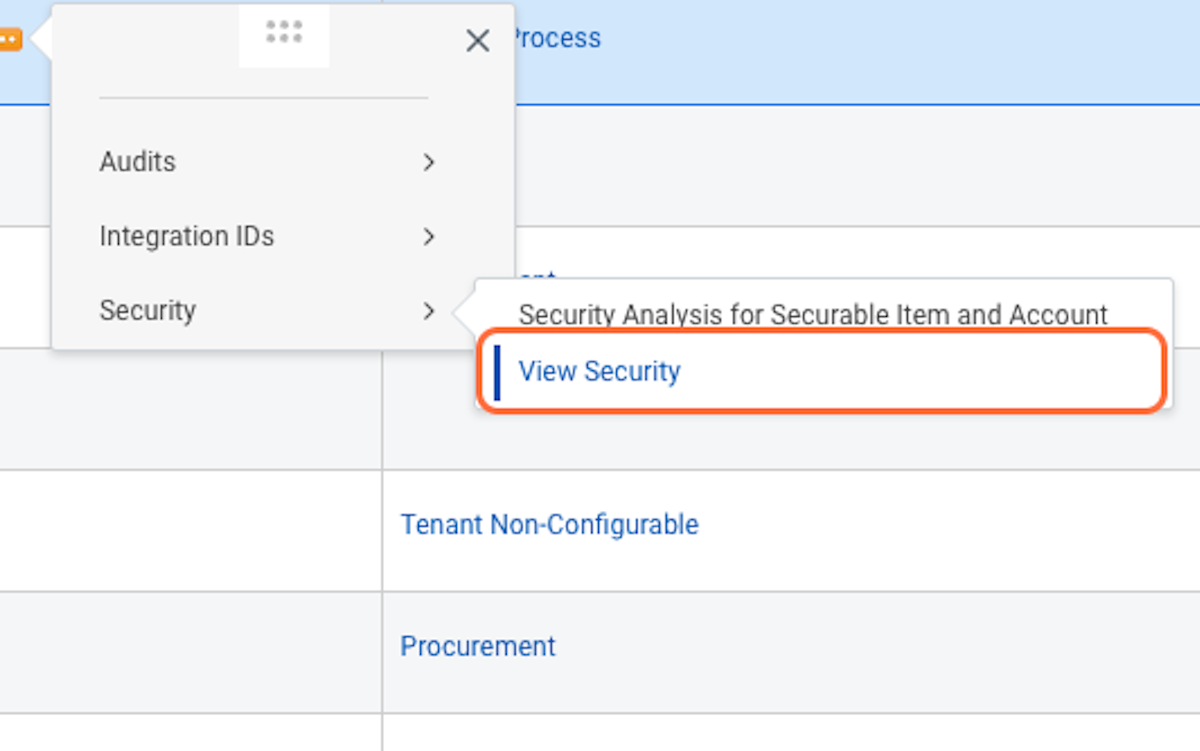
22. Hover over security and click on "View Security"
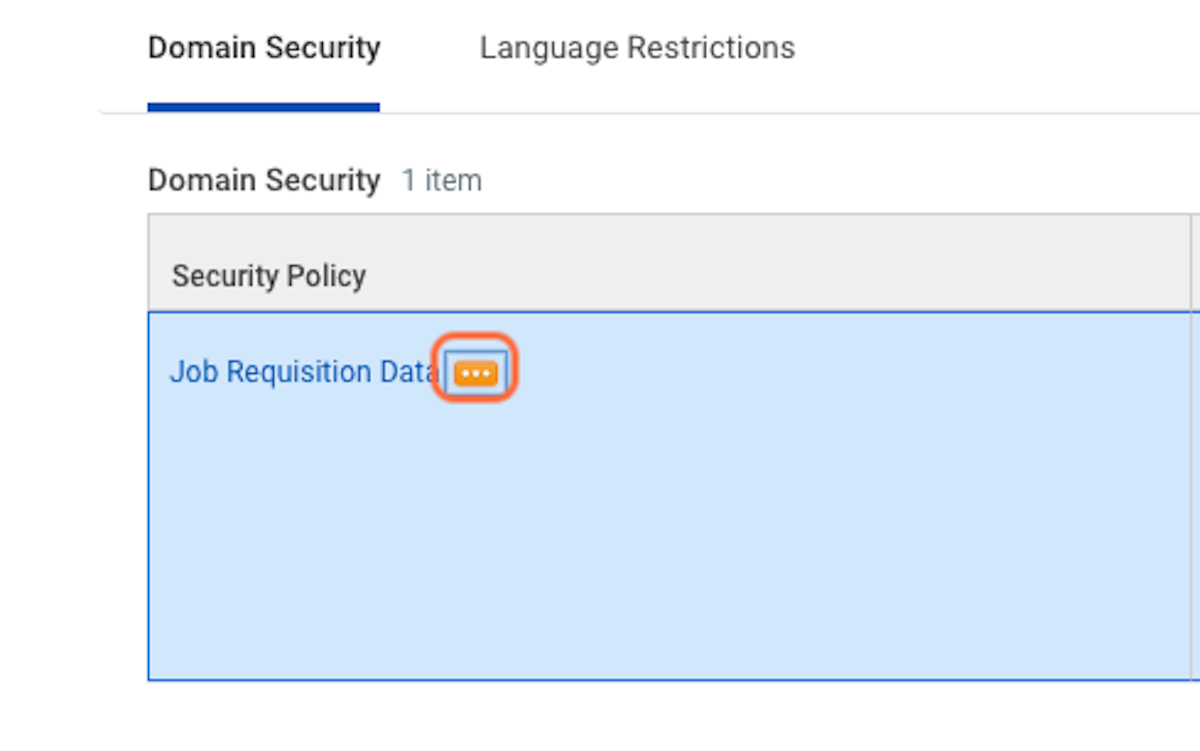
23. Complete steps 13-17 from above for the "Job Requisition Data" section
24. Search for "View Security for Securable Item"
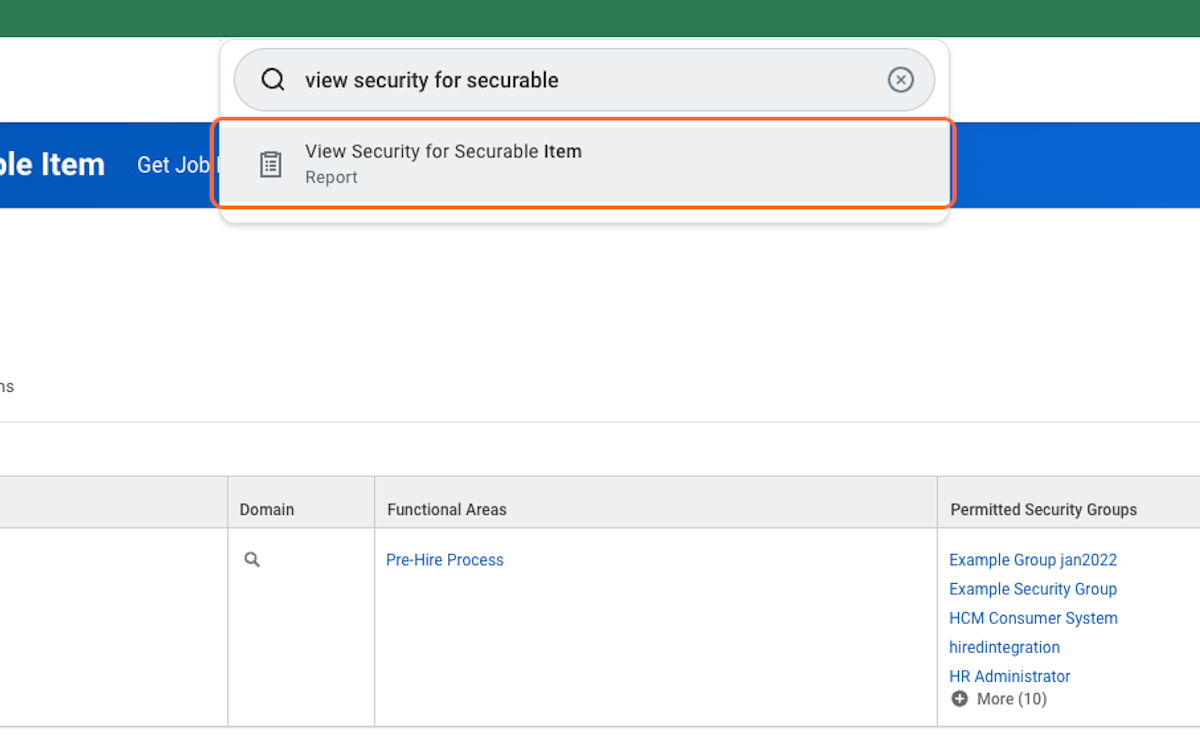
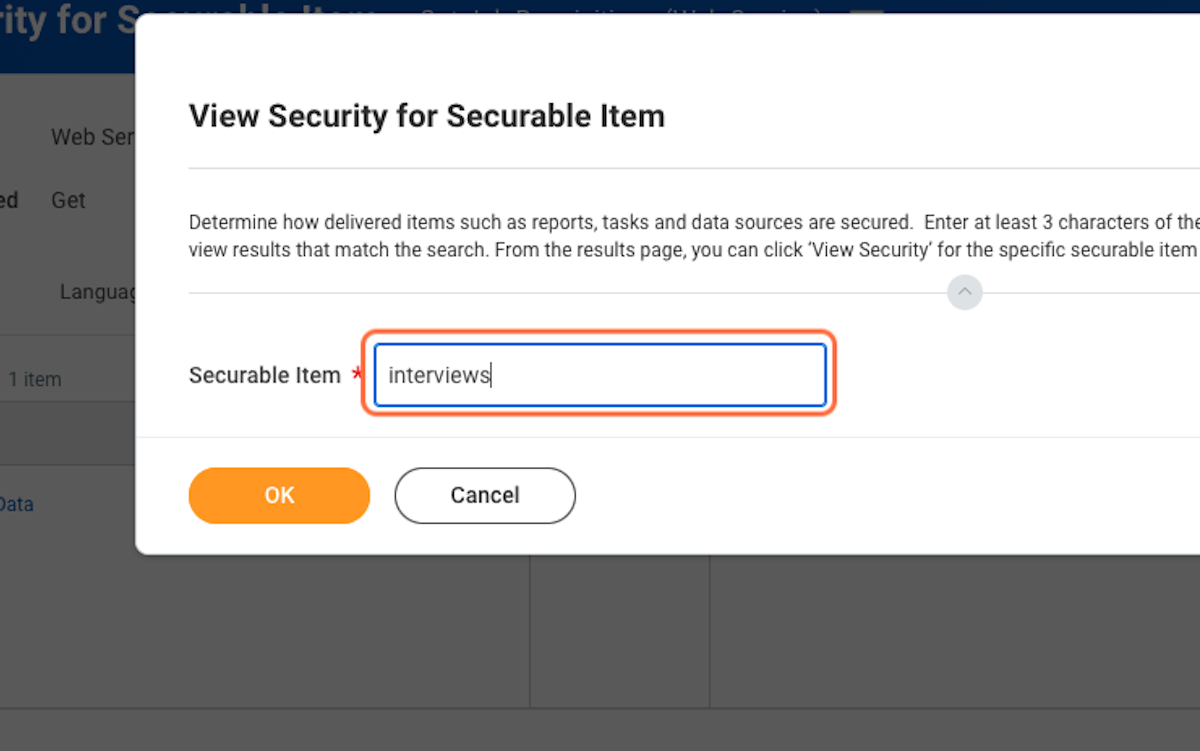
25. Type "interviews" in the search box
26. Hover over "Get Interviews (Web Service) (Web Service Task)" and click the menu icon
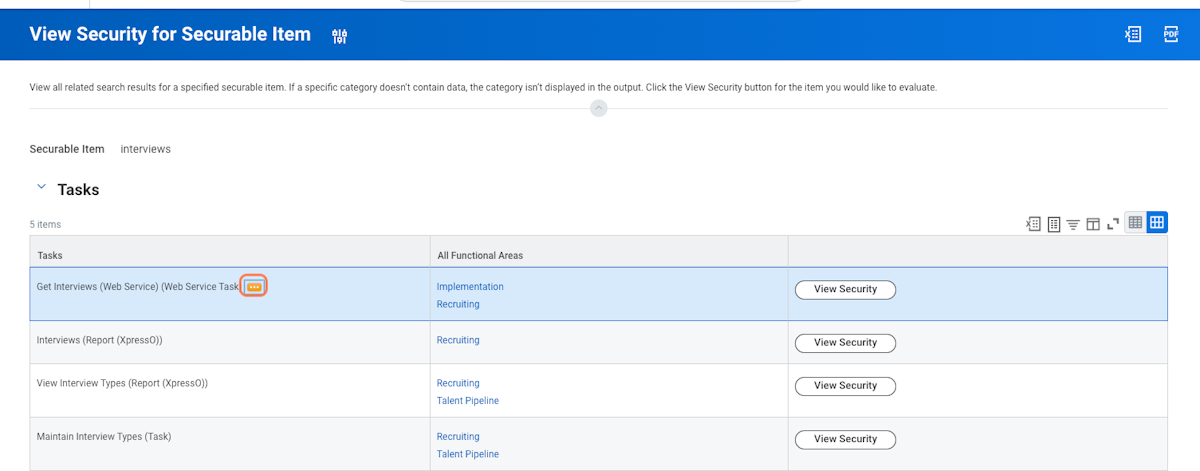
27. Hover over "Security" and click on "View Security"
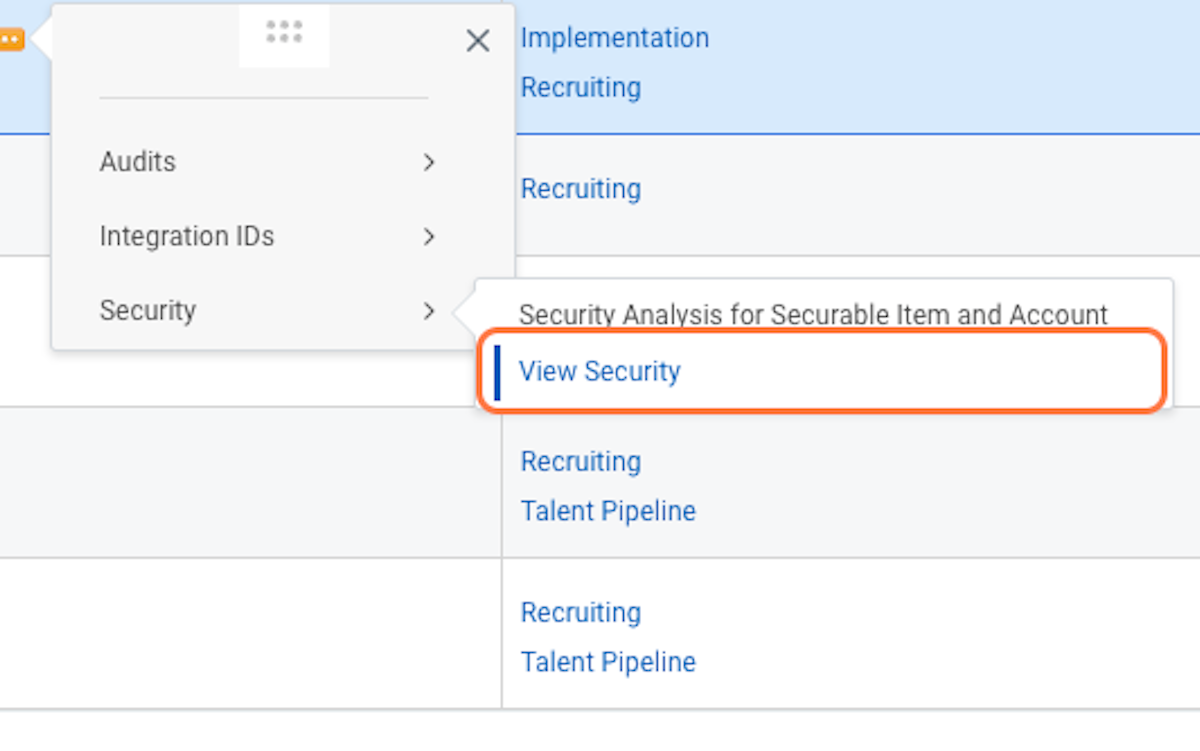
28. Complete steps 13-17 from above for the "Candidate Data: Interview Scheduling" section
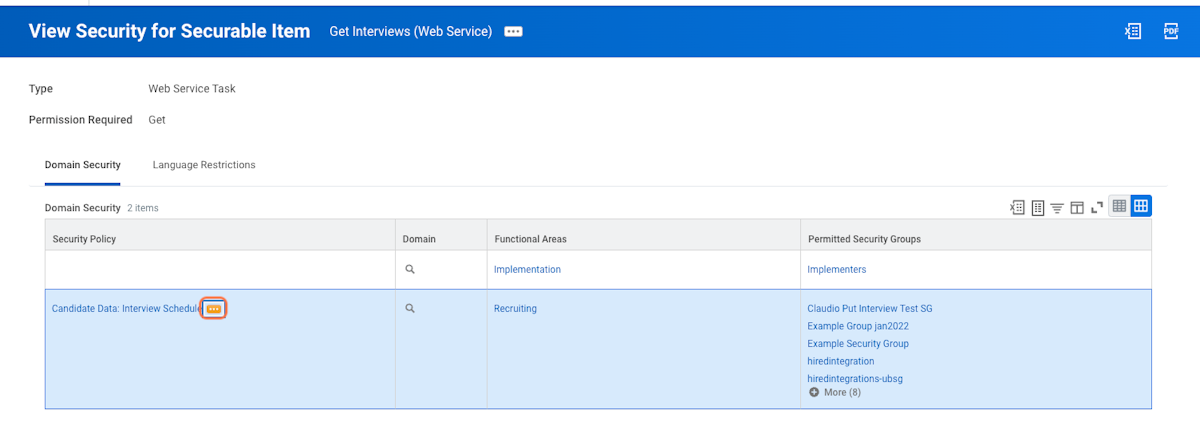
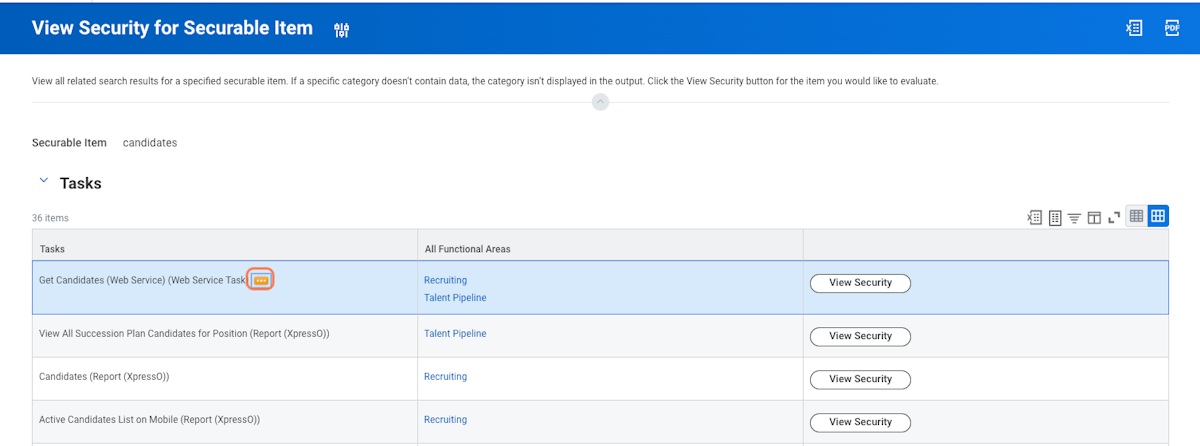
29. Search for "View Security for Securable Item" and search for candidates

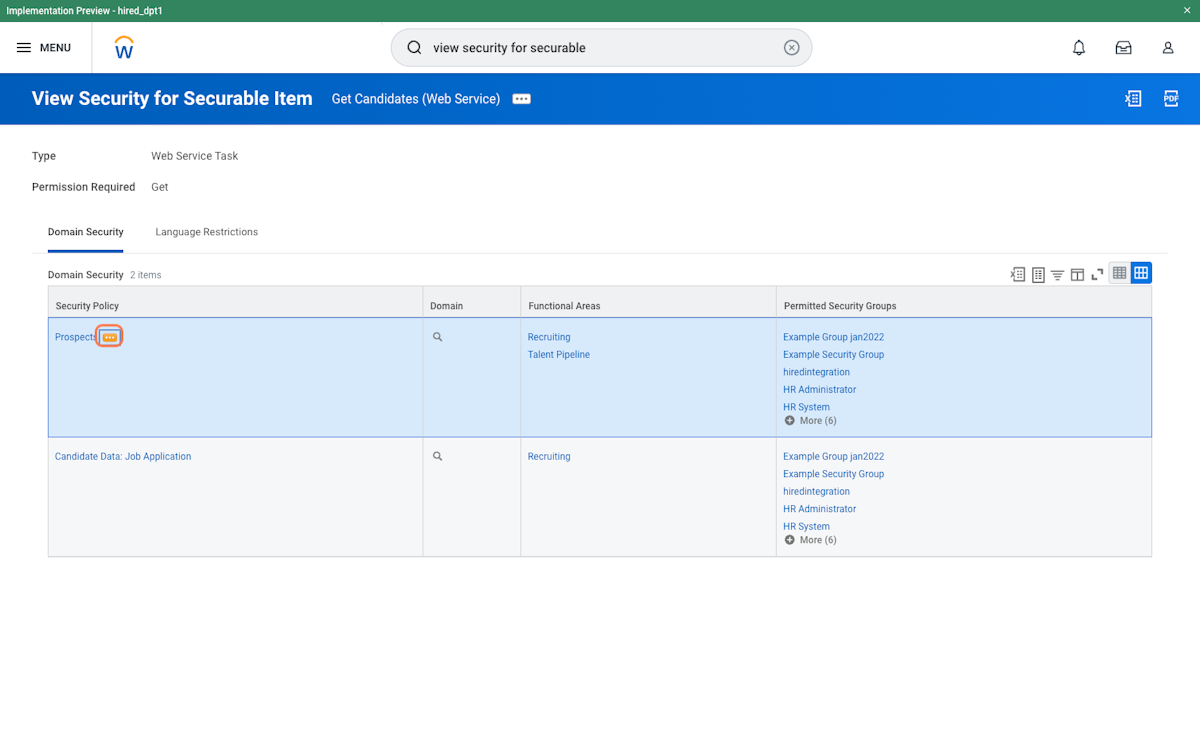
30. Hover over "Get Candidates (Web Service) (Web Service Task)" and click the menu icon
31. Hover over "Security" and click "View Security"
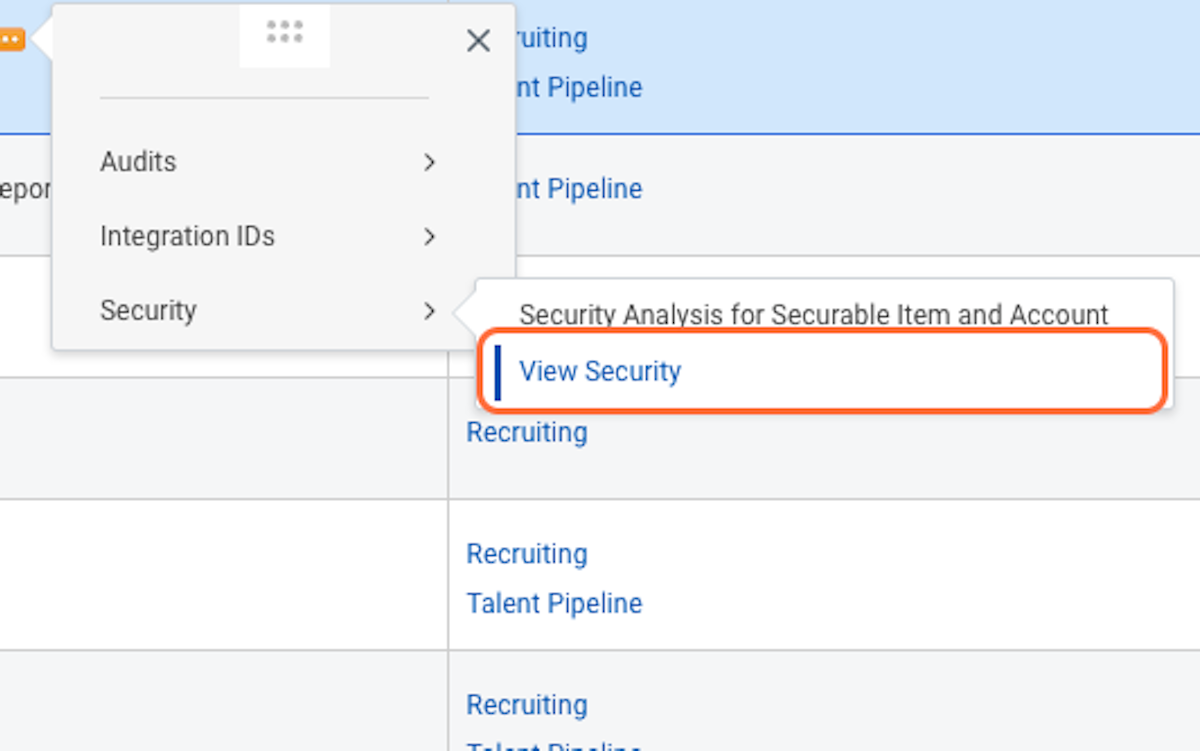
32. Complete steps 13-17 from above for the "Prospects" and "Candidate Data" Job Application" sections. Note for these two sections you need to click both the "Get" and "Put" checkboxes
33. Click both "Get" and "Put" boxes

34. Optional: If you have evergreen job reqs that you'd like to include on Hired, search for "View Security for Securable Item" and search for "Get Evergreen Requisitions"
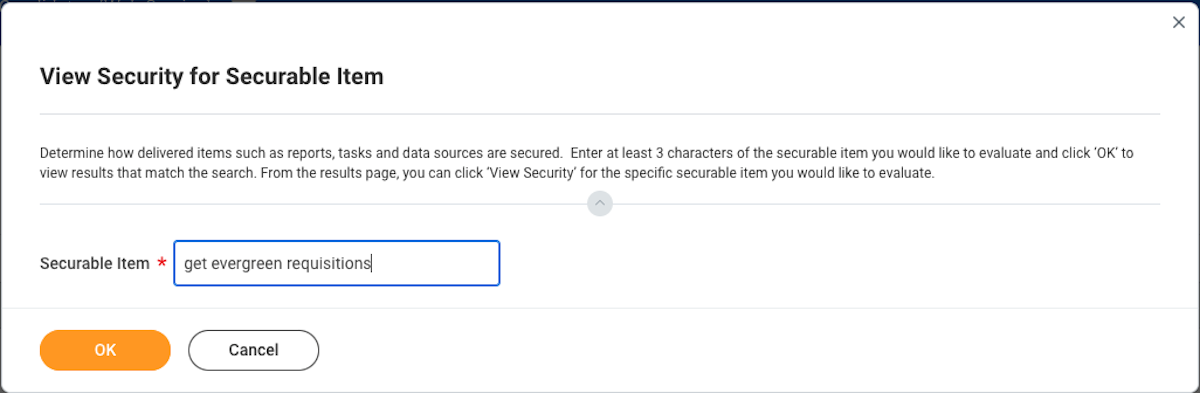
35. Hover over "Get Evergreen Requisitions (Web Service) (Web Service Task) and click the menu icon
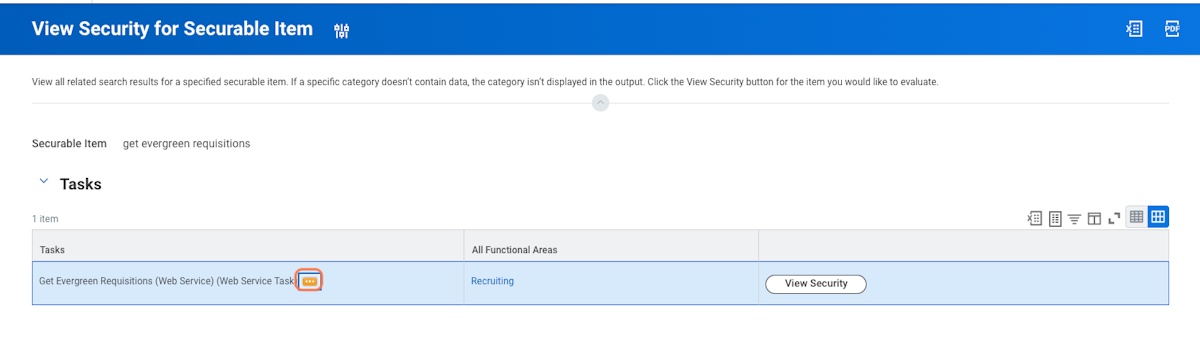
36. Hover over "Security" and Click "View Security"
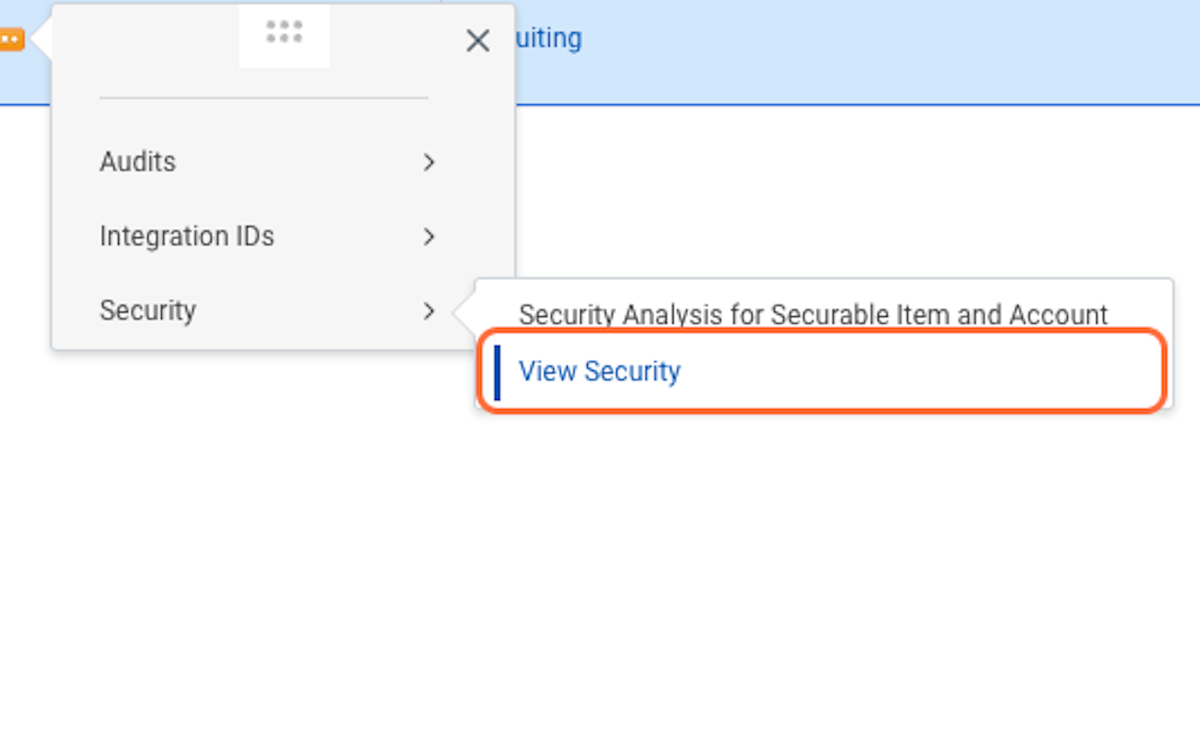
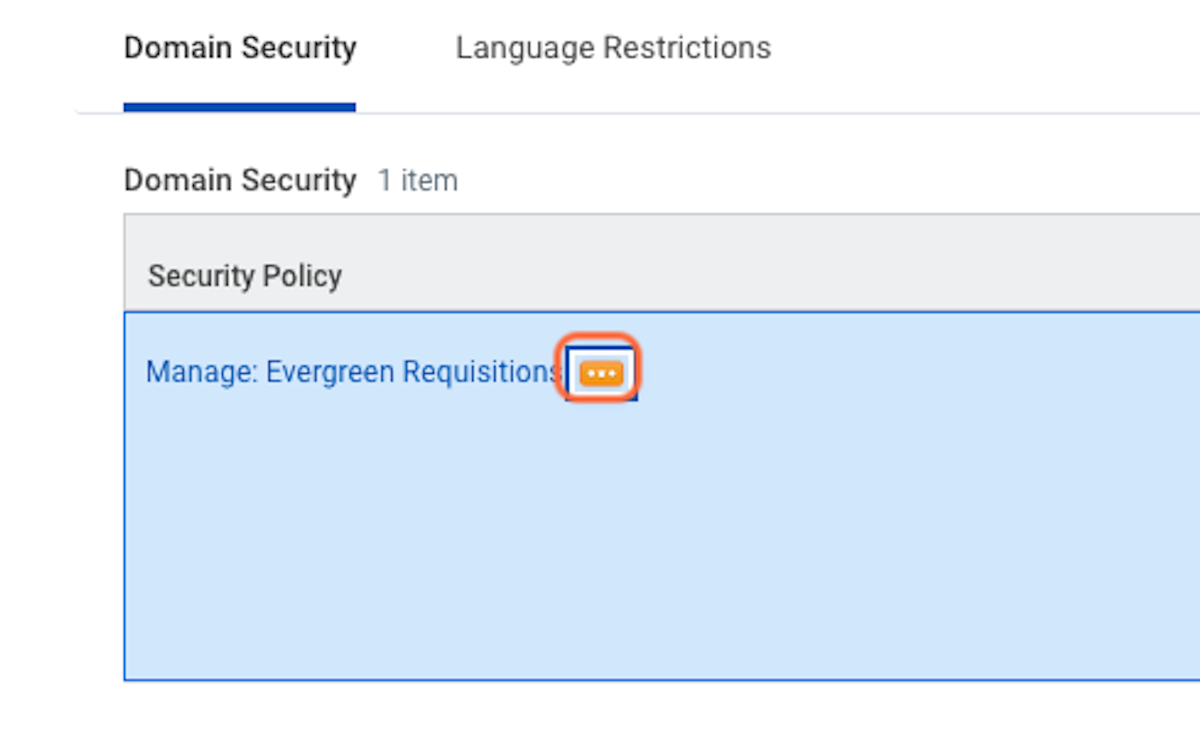
37. Follow steps 13-17 above for the "Manage: Evergreen Requisitions" section
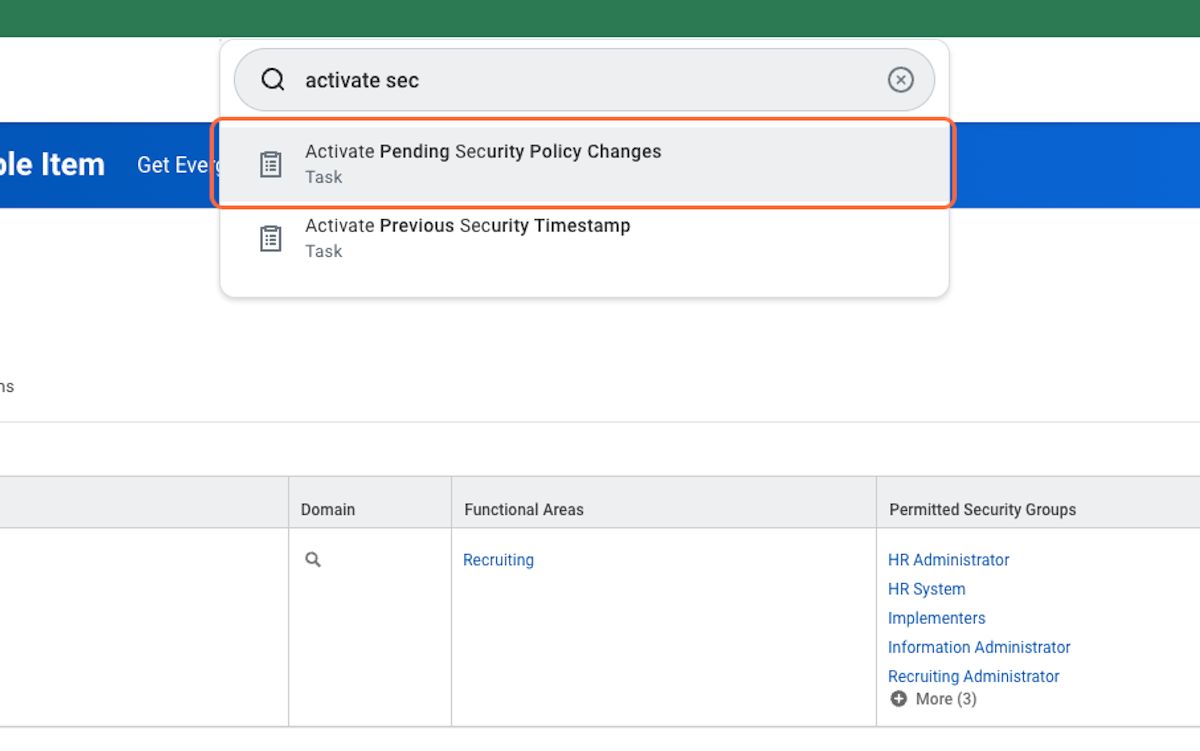
38. Now you'll need to activate your pending security policy changes. Search for "Activate pending security policy changes"
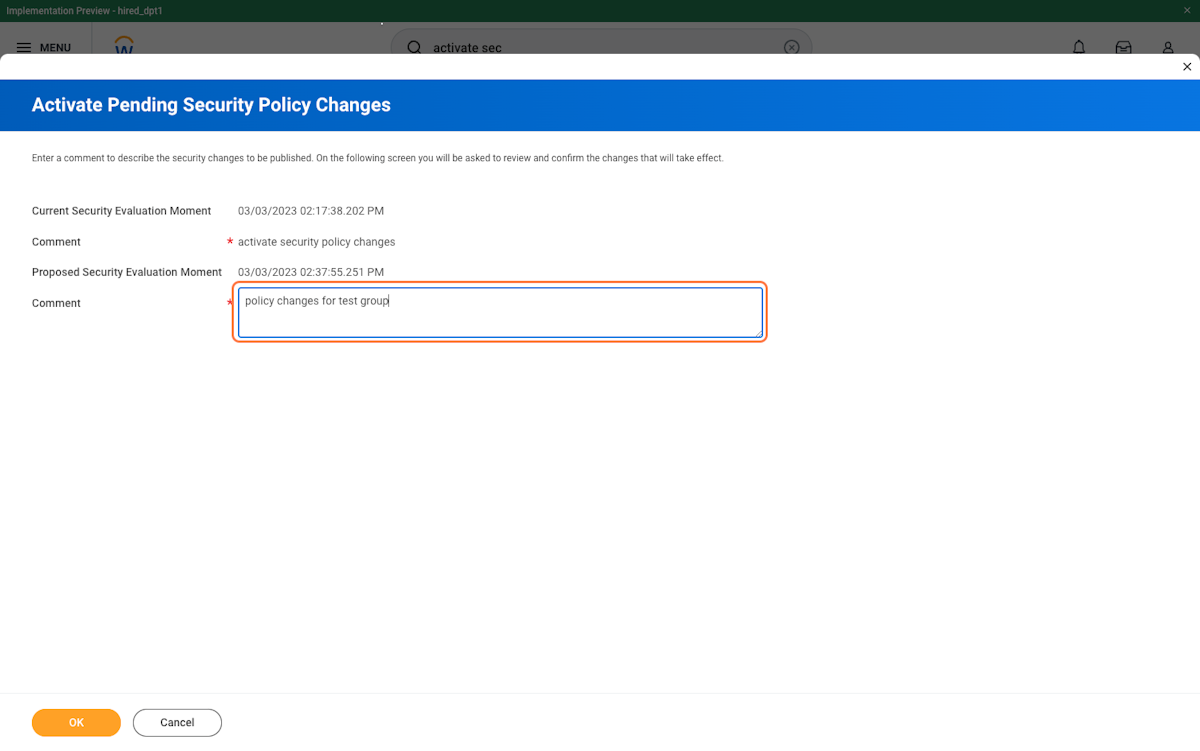
39. Enter any text into the comment box and click ok
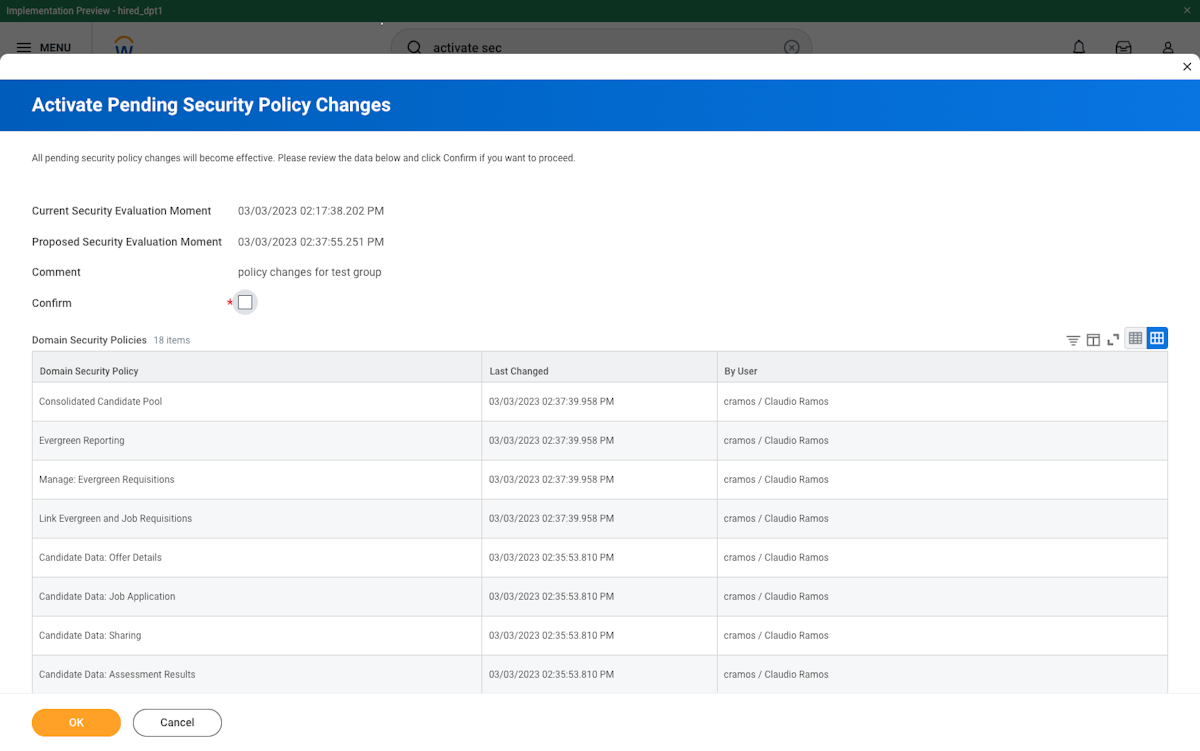
40. Click the required "Confirm" box and click OK
41. Now you can connect your Workday instance inside of Hired following the steps below
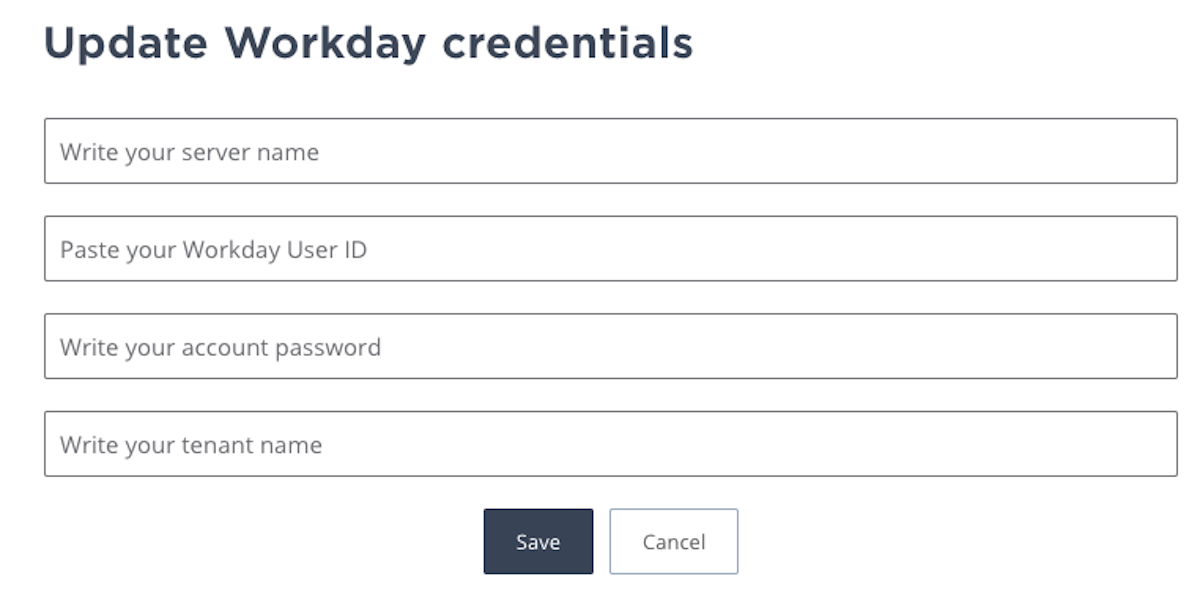
42. In order for your Workday integration to be connected you must enter the information below on Hired
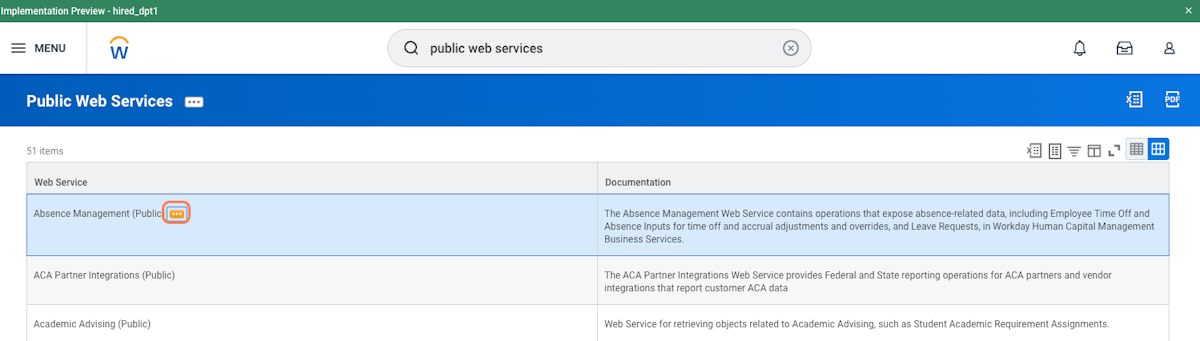
43. To get your server and tenant name search for "Public web services" inside of Workday

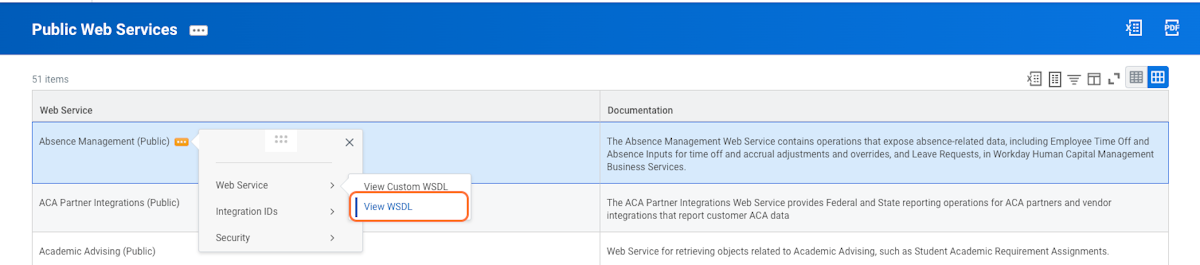
44. Hover over any web service in the list and click the menu icon
45. Hover over "Web Service" and click "View WSDL"
46. Use control+F to search for "location=http" and you should be taken to a section of the page that looks like this. This is your server and tenant name

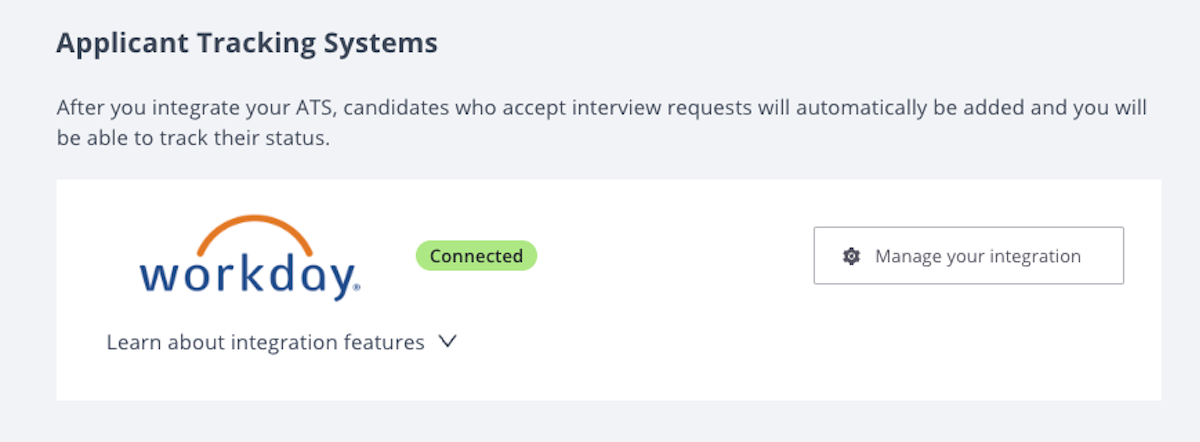
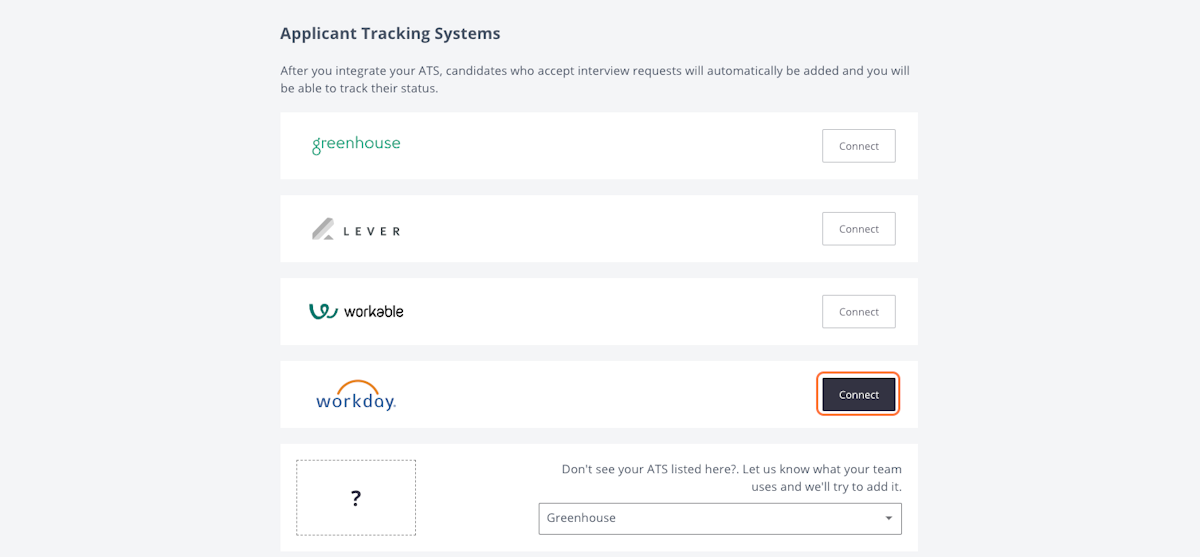
47. Go to the integrations page on Hired.com and click Connect next to Workday
48. Enter your server name from the step above
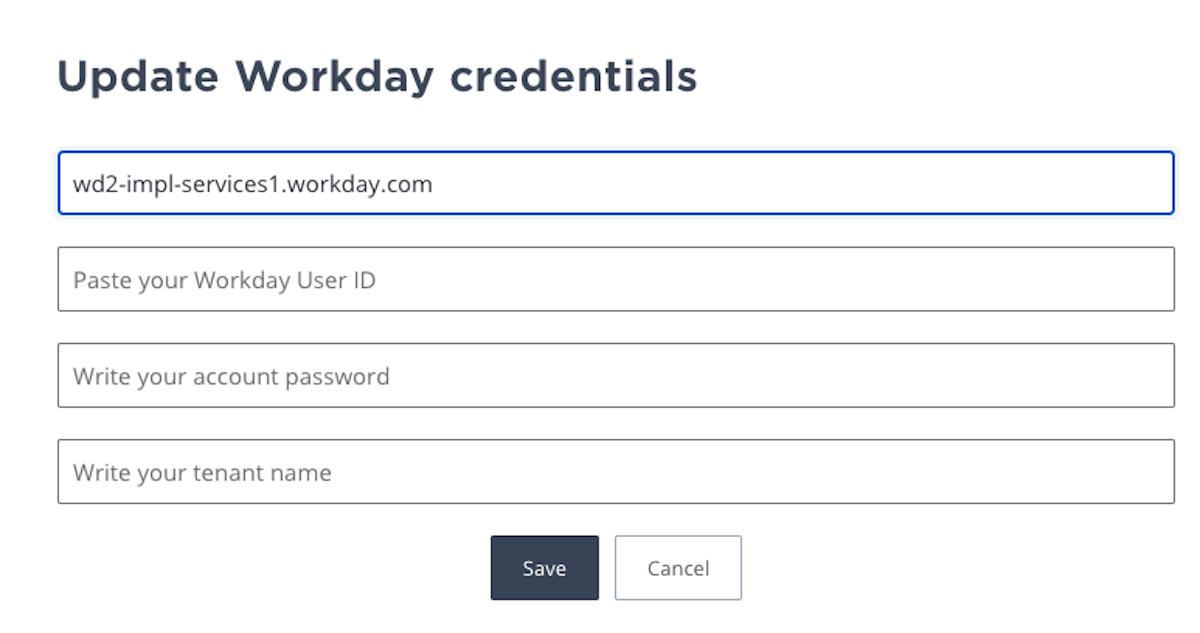
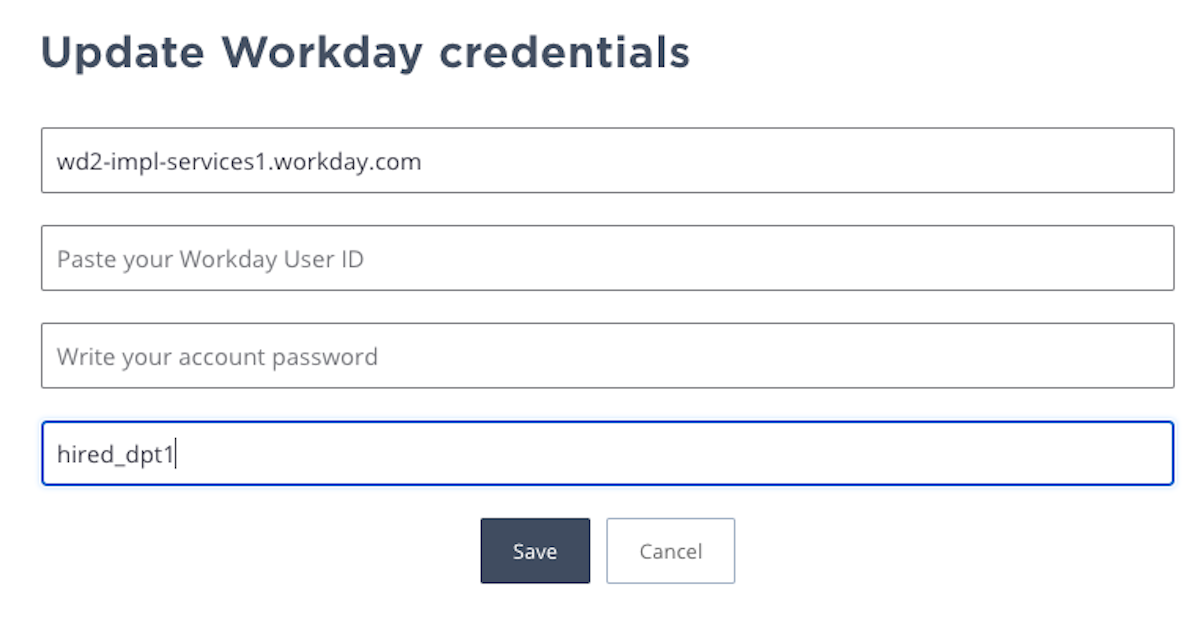
49. Enter your tenant name from the step above
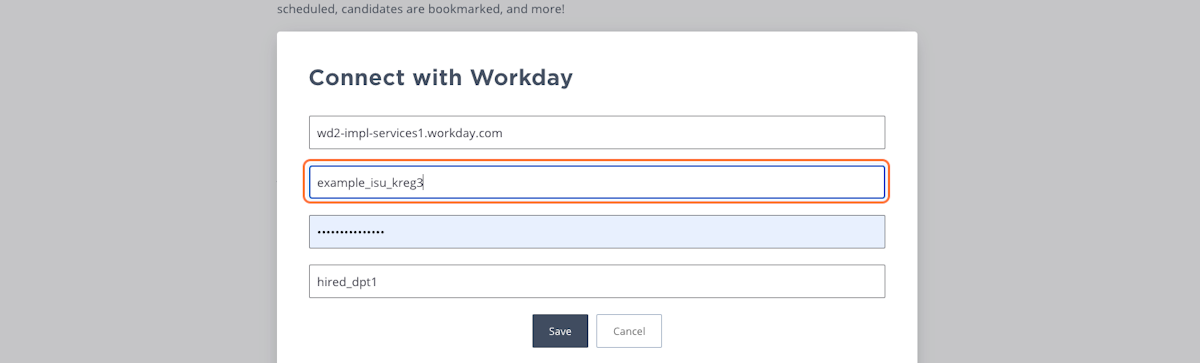
50. Enter your integration system username and password
51. Click save
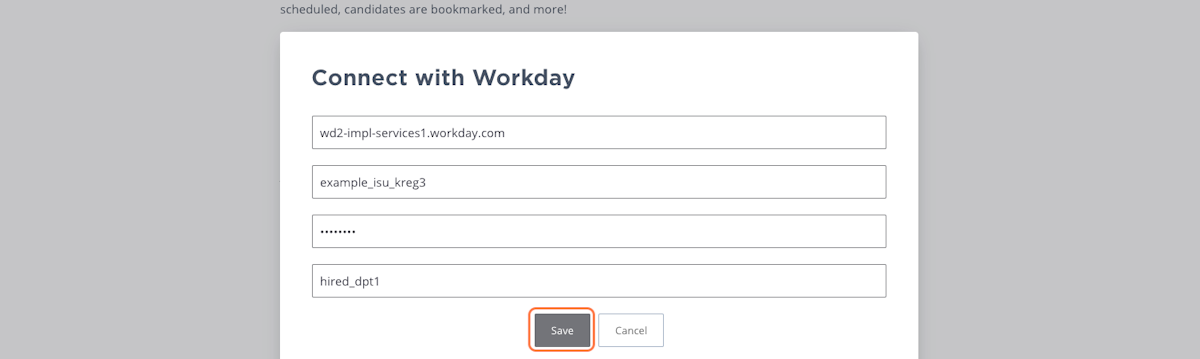
52. That's it! You should now be connected to Workday